> For the complete documentation index, see [llms.txt](https://docs.prismacloud.io/llms.txt). Markdown versions of documentation pages are available by appending `.md` to page URLs; this page is available as [Markdown](https://docs.prismacloud.io/admin-guide/32/authentication/saml.md).
# Okta (SAML 2.0)
Many organizations use SAML to authenticate users for web services. Prisma Cloud supports the SAML 2.0 federation protocol to access the Prisma Cloud Console. When SAML support is enabled, administrators can log into Console with their federated credentials. This article provides detailed steps for federating your Prisma Cloud Console with Okta.
The Prisma Cloud/Okta SAML federation flow works as follows:
1. Users browse to Prisma Cloud Console.
2. Their browsers are redirected to the Okta SAML 2.0 endpoint.
3. They enter their credentials to authenticate. Multi-factor authentication can be enforced at this step.
4. A SAML token is returned to Prisma Cloud Console.
5. Prisma Cloud Console validates the SAML token’s signature and associates the user to their Prisma Cloud account via user identity mapping or group membership.
Integrating Prisma Cloud with SAML consists of setting up your IdP, then configuring Prisma Cloud to integrate with it.
## Setting up Prisma Cloud in Okta
Set up Prisma Cloud in Okta.
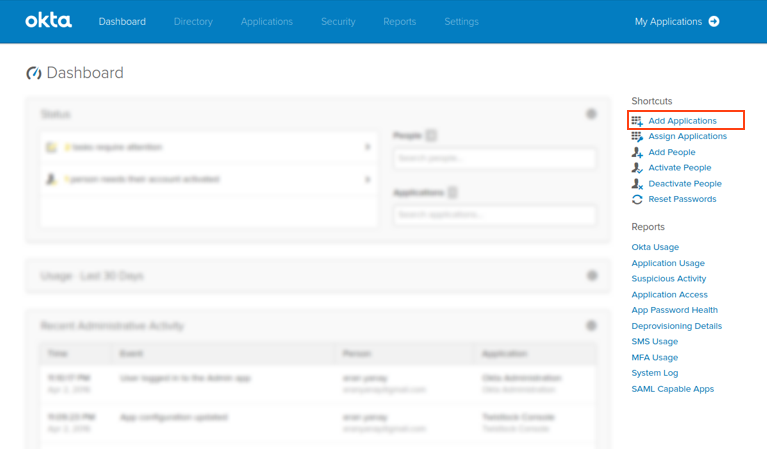
1. Log into the Okta admin dashboard.
2. On the right, click **Add Applications**.
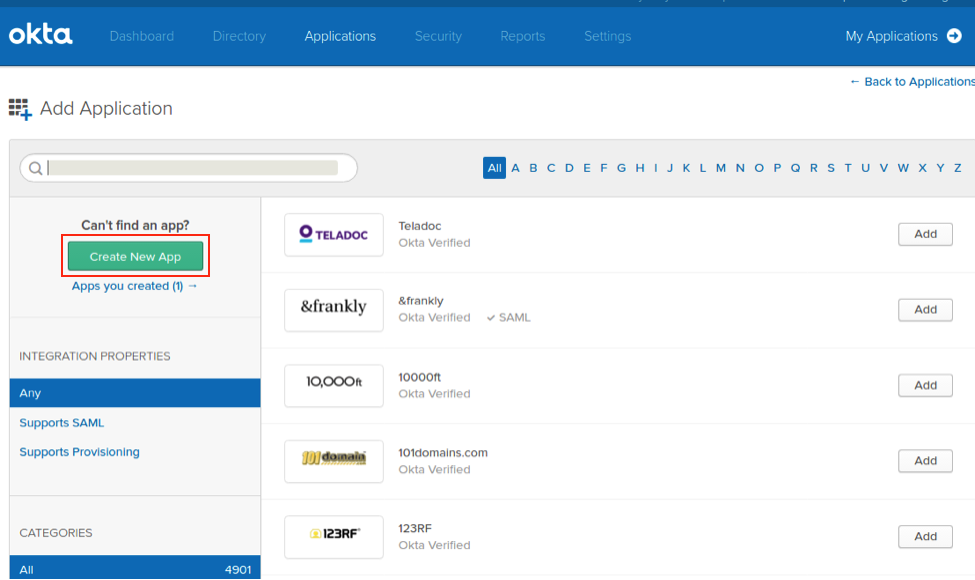
3. On the left, click **Create new app**.
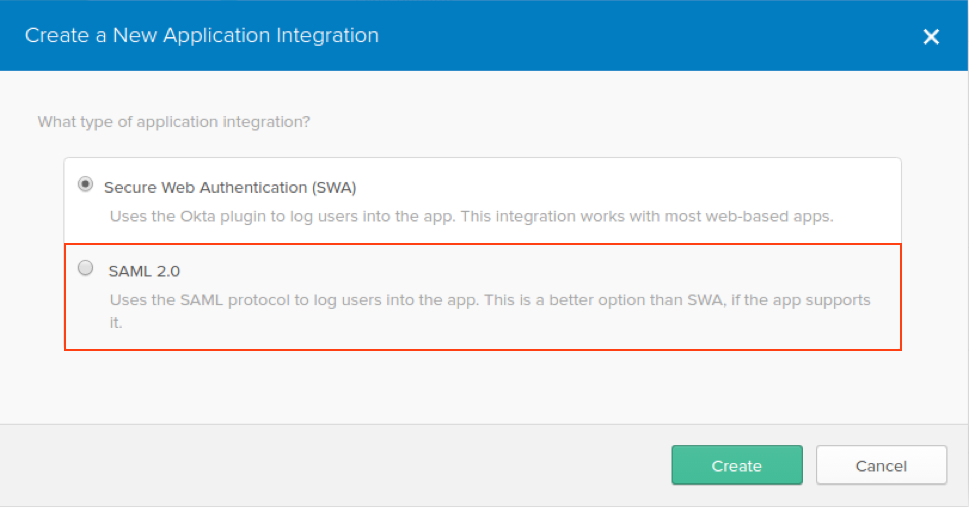
4. Select **SAML 2.0**, and then click **Create**.
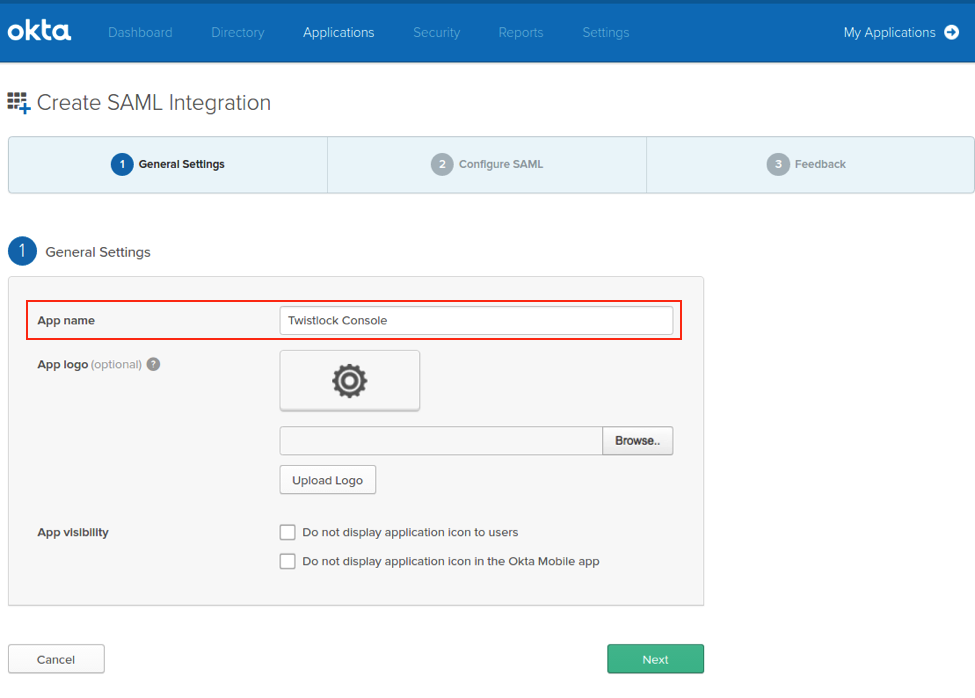
5. In the **App name** field, enter **Prisma Cloud Console**, then click **Next**.
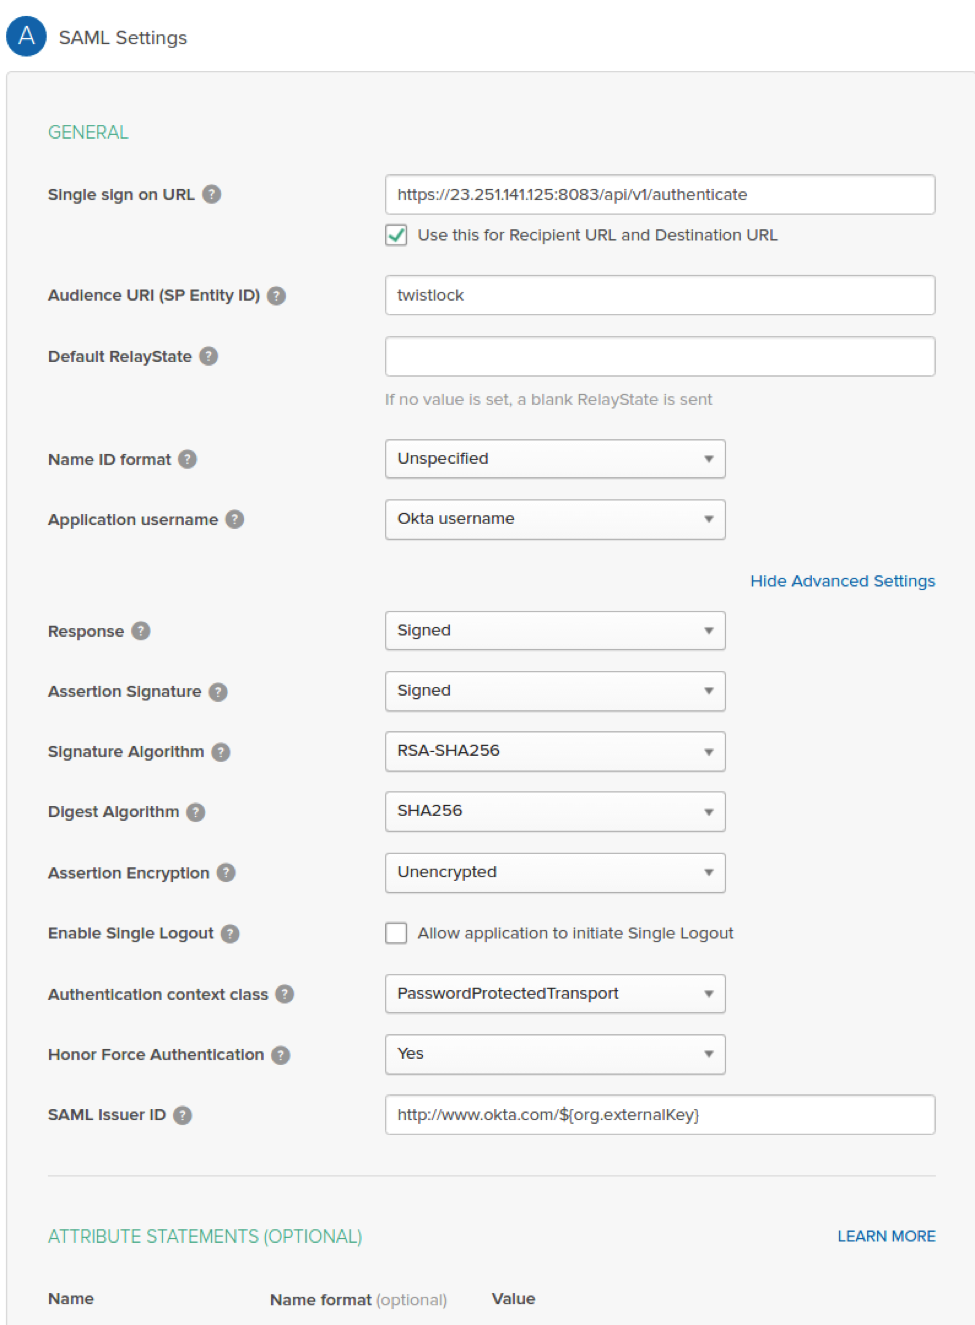
6. In the SAML Settings dialog:
1. In the **Single Sign On URL** field, enter **https\://\:8083/api/v1/authenticate**.
Note that if you have changed the default port you use for the HTTPS listener, you’d need to adjust the URL here accordingly. Additionally, this URL must be visible from the Okta environment, so if you’re in a virtual network or behind a load balancer, it must be configured to forward traffic to this port and it’s address is what should be used here.
2. Select **Use this for Recipient URL and Destination URL**.
3. In the field for **Audience Restriction**, enter **twistlock** (all lowercase).
4. Expand **Advanced Settings**.
5. Verify that **Response** is set to **Signed**.
6. Verify that **Assertion Signature** is set to **Signed**.
7. (Optional) Add a group.
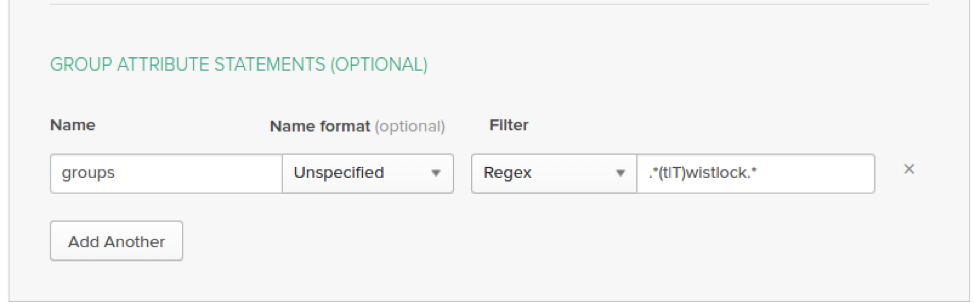
Setting up groups is optional. If you set up group attribute statements, then permission to access Prisma Cloud is assessed at the group level. If you don’t set up group attribute statements, them permission to access Prisma Cloud is assessed at the user level.
1. Scroll down to the **GROUP ATTRIBUTE STATEMENTS** section.
2. In the **Name** field, enter **groups**.
3. In filter drop down menu, select **Regex** and enter a regular expression that captures all the groups defined in Okta that you want to use for access control rules in Prisma Cloud.
In this example, the regular expression **.\*(t|T)wistlock.\*** is used to include all groups prepended with either Prisma Cloud or twistlock. You should enter your own desired group name here. If you have just one group, such as YourGroup, then just enter **YourGroup**. Regular expressions are not required. If you have multiple groups, you can use a regular expressions, such as **(group1|group2|group3)**.
8. Click **Next**, and then click **Finish**.
You are directed to a summary page for your new app.
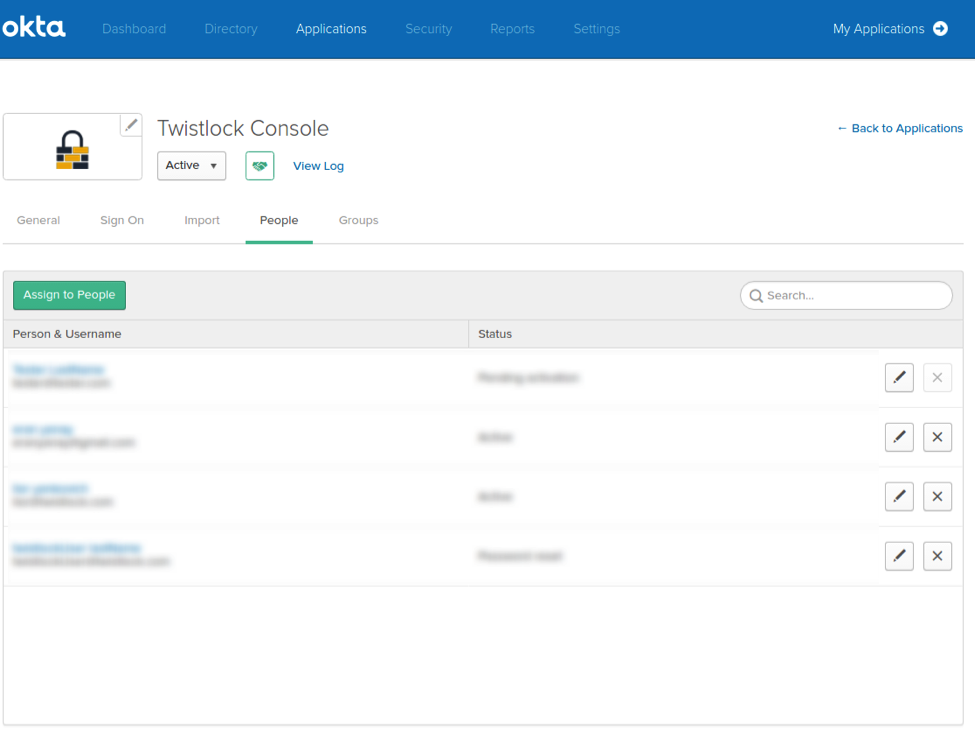
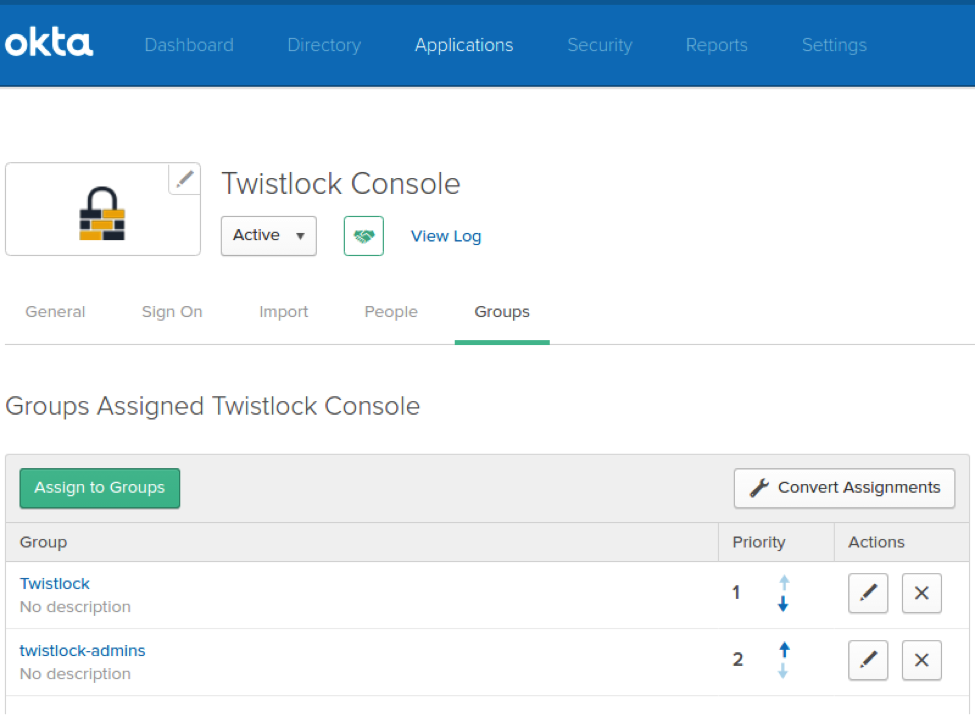
9. Click on the **People** tab, and add users to the Prisma Cloud app.
10. Click on the **Groups** tab, and add groups to the Prisma Cloud app.
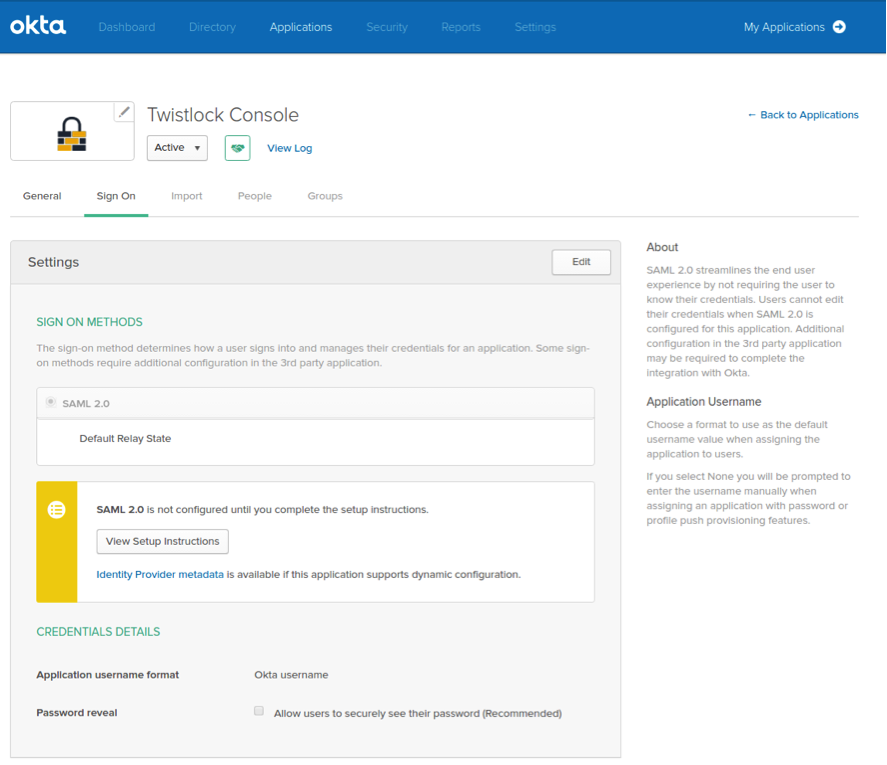
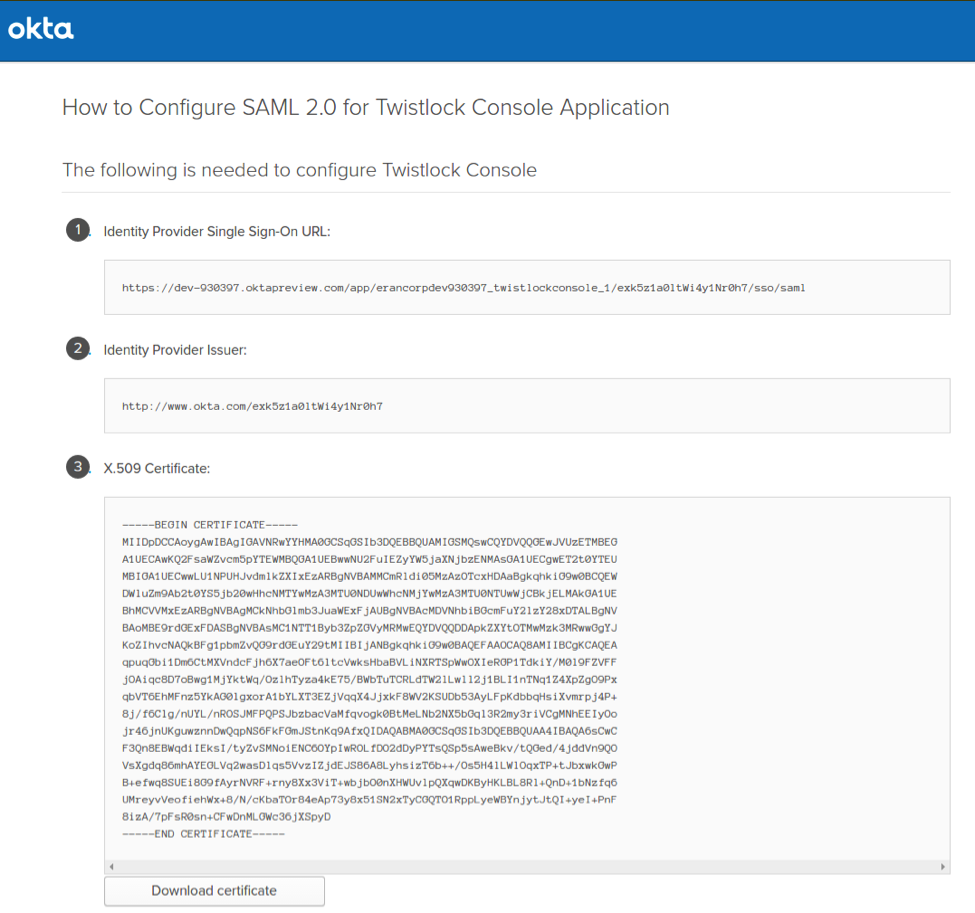
11. Click on the **Sign On** tab and click **View setup instructions**.
The following values are used to configure Prisma Cloud Console, so copy them and set them aside.
* Identity Provider Single Sign-On URL
* Identity Provider Issuer
* X.509 Certificate
## Configuring Console
Configure Prisma Cloud Console.
1. Open Console, and login as admin.
2. Go to **Manage > Authentication > Identity Providers > SAML**.
3. Set **Integrate SAML users and groups with Prisma Cloud** to **Enabled**.
4. Set **Identity provider** to **Okta**.
5. Copy the following values from Okta and paste them into their corresponding fields in Console:
* Identity Provider Single Sign-On URL
* Identity Provider Issuer
* X.509 Certificate
6. In **Audience**, enter **twistlock**.
7. Click **Save**.
## Granting access by group
Grant access to Prisma Cloud Console by group. Each group must be assigned a [role](/admin-guide/32/authentication/user-roles.md).
1. Open Console.
2. Define a SAML group.
1. Go to **Manage > Authentication > Groups**.
2. Click **Add group**.
3. In the **Name** field, enter a group name.
The group name must exactly match the group name in the SAML IdP. Console does not verify if that the value entered matches a group name in the SAML IdP.
4. Select the **SAML group** checkbox.
5. Select a role.
6. Select a project(s) - Optional.
7. Click **Save**.
## Granting access by user
Grant access to Prisma Cloud Console by user. Each user must be assigned a [role](/admin-guide/32/authentication/user-roles.md).
1. Open Console.
2. Define a SAML user.
1. Go to **Manage > Authentication > Users**.
2. Click **Add user**.
3. In the **Username** field, enter a user name.
The username must exactly match the username in the SAML IdP. Console does not verify if that the value entered matches a user name in the SAML IdP.
4. Select **SAML** as the Auth method
5. Select a role.
6. (Optional) Select a project(s).
7. Click **Save**.
---
# Agent Instructions
This documentation is published with GitBook. GitBook is the documentation platform designed so that both humans and AI agents can read, navigate, and reason over technical content effectively. Learn more at gitbook.com.
## Querying This Documentation
If you need additional information that is not directly available in this page, you can query the documentation by asking a question.
Perform an HTTP GET request on the following URL with the `ask` and `goal` query parameters:
```
GET https://docs.prismacloud.io/admin-guide/32/authentication/saml.md?ask=&goal=
```
`ask` is the immediate question: it should be specific, self-contained, and written in natural language.
`goal` is what the user is ultimately trying to achieve, the reason they need the answer. Sharing it helps GitBook give you a better, more relevant answer. A goal is most helpful when it describes the outcome the user wants rather than restating the question. For example, with `ask=how do I create an API token`, a goal like `automate deployments from our CI pipeline` lets GitBook tailor the answer to that use case.
The response will contain a direct answer to the question and relevant excerpts and sources from the documentation.
Use this mechanism when the answer is not explicitly present in the current page, you need clarification or additional context, or you want to retrieve related documentation sections.